If you're handy enough with a seam ripper and a sewing machine you can do this in about an hour for both legs. Add in the back and it's probably two hours from start to finish. The reason for that I've noticed is that the back elastic seems to have been caught in the sewing process so you generally have to open the entire casing, sew it back down then put your elastic through and close it up. And I am offering this service as of right now on my etsy shop for those that aren't inclined to sew or don't have a machine. But, that's another story.
So here it is without further adieu....
Step 1)
Take the diaper you want to repair the leg elastic of. On the outside of the diaper at the start of the leg curve/casing gently rip of the seam for about an inch on each end of the legs going towards the crotch.

Step 2)
When you turn the diaper inside out you should be able to see where you've opened up and some of the elastic showing as well. This will be what you're working with.
Step 3)
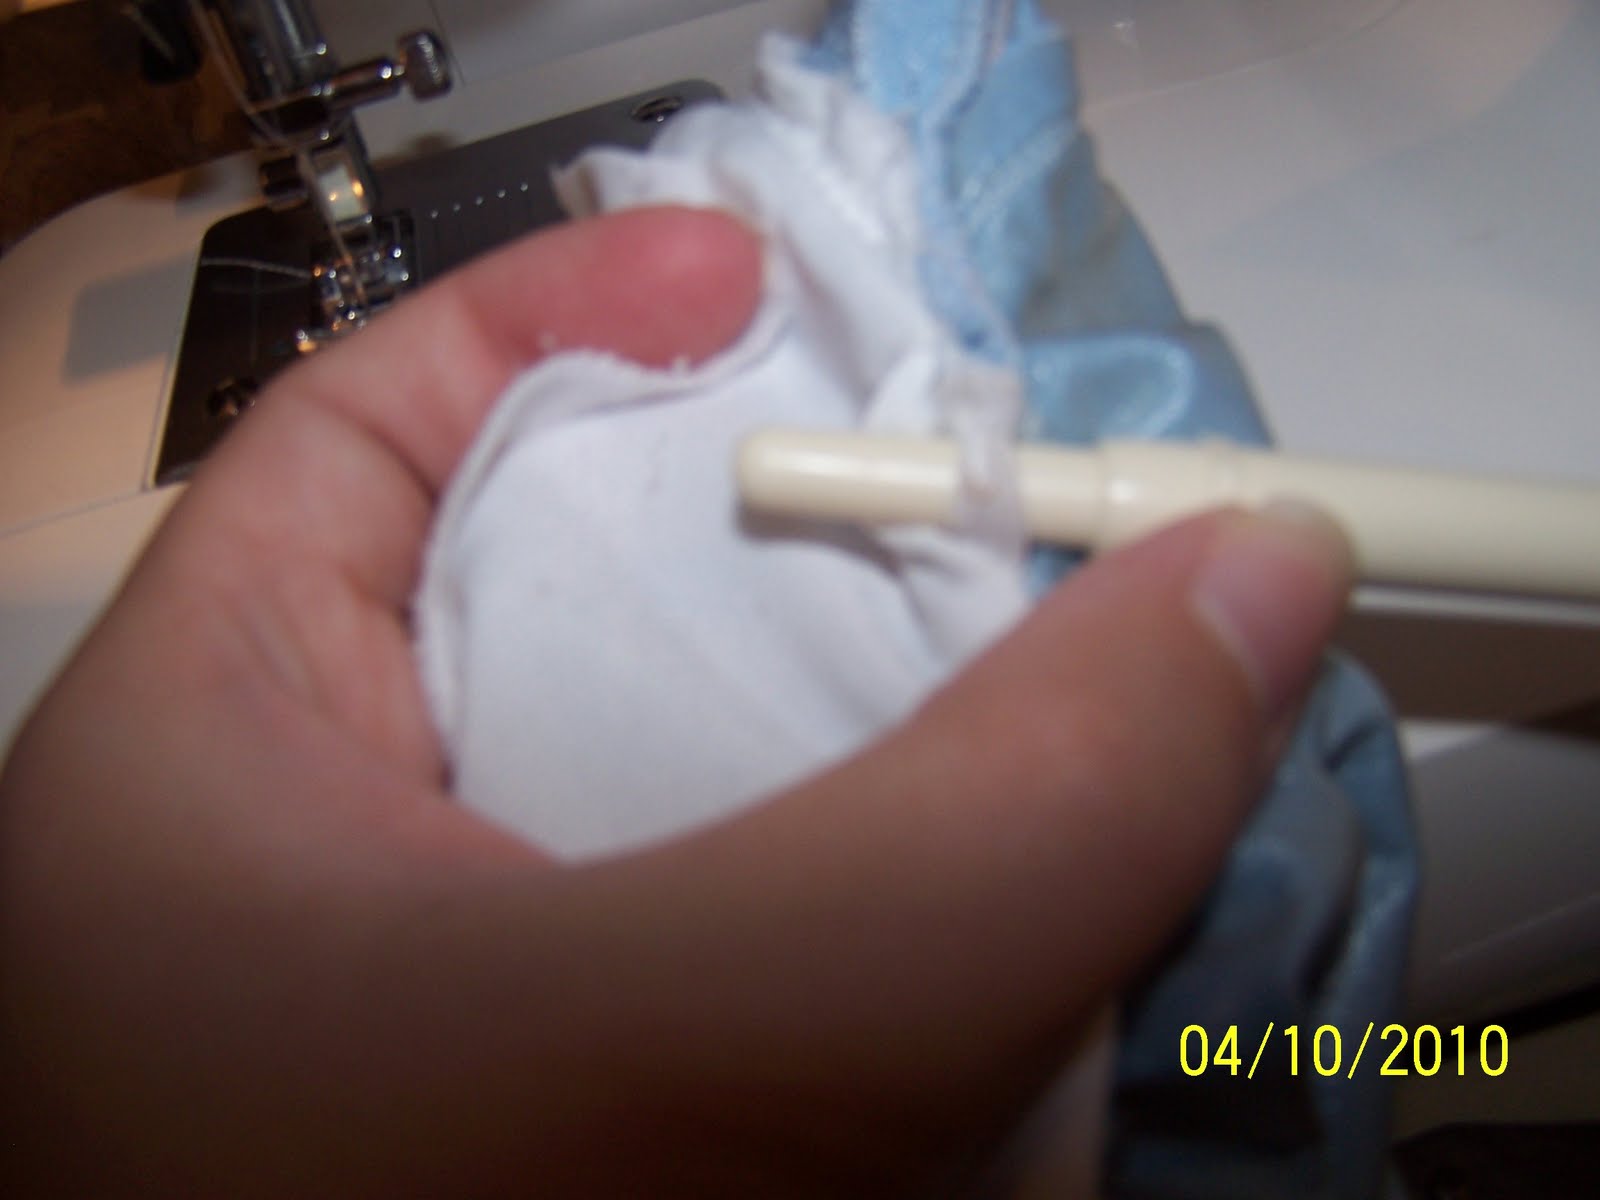
Cut your new elastic to about 4 1/2 inches long. (The diaperswappers posting I believe says that from the back of a ballpoint pen to the bottom of the cap is the length needed. I have a toddler who loves pens and I have no idea where he hides them or the caps.) Thread a hand needle with some thread. I used a bright color thread for this. And keep a small crochet hook on hand just in case your current diaper elastic breaks.

Step 4)
Take the threaded hand needle and sew the end of your new elastic to the end of your old elastic. Once you've done that you can gently pull the old elastic on the other end of the leg to bring through the new elastic. Make sure you don't pull too far or you'll lose the new elastic from where you started.

Step 4.5)
If the old elastic breaks while pulling to bring through the new elastic use your small crochet hook to help bring the new elastic through. What I did was use the length of old elastic still sewn to me new elastic. I sewed another piece of thread to the old elastic to make a loop I could grab with on the hook. I then gently pulled that through and kept on with business.

Step 5)
Turn your diaper inside out and sew the casing shut on where you started to pull through the elastic. A tip so you don't lose your elastic doing this is to actually lightly hand sew the ends of the elastic to the strip of serging inside the diaper. I don't do that because it is a pain in the butt and my hand needles don't like doing it. So I half turn the diaper inside out to start the one end and slowly make my way down the crotch of the casing to the other opening making sure I don't catch any other part of the diaper in the machine. I slowly sew down the casing line until I get to the other open end and then sew that shut as well making sure I have all of my new elastic up to where I'm sewing.
TIP: Use a size 10 needle in your machine along with good 100% polyester thread. I am using Gutterman now after mistakenly using Coats & Clark which for some reason caused wicking on me. I use Coats & Clark for other things, but not on my diapers.

Step 6)
Sit back and admire your like new leg elastic....then get cracking on the other side if it needs to be done. Don't forget to throw the diaper in the dryer to make sure the PUL seals around the thread.

Now, if you need to repair the waist elastic at the back... I don't have pics but can take some next time I do one. It's almost the same thing. You have to open up the seams (make sure the elastic wasn't sewn into the casing which usually is fairly obvious I've noticed) and have 5" (I'm still figuring this one out but 5 isn't too bad) of new elastic. Do your pull through and sew shut.
One more hint with your diapers.... Every now and then turn the diaper tabs inside out and clean them out. You'd be surprised at the amount of lint and nastiness that gets stuck in there! Enjoy!
Thanks for posting this. Now is this for the AIOs or the pocket diapers?
ReplyDeleteSomeone is sending one of their AIOs for me to repair the elastic in, can I use your tutorial to do that?
This was for pockets. To do the AIO's I opened up one side and a bit of the top of the front of a diaper to add snaps. I think you could do this same method to repair elastic as long as you know where your stitches are.
ReplyDelete